Have a plethora of fruit? Made all the pies, breads, and sauces you can stand? Why not try your hand at fruit preserves?
Jellies, jams, and preserves are where most people start their canning and preserving journey. They’re a great, low-risk way to preserve in-season fruit, and you don’t need to can them (that is, heat sealing) if you plan to store them in the fridge or freezer and eat them relatively quickly.
So, let’s talk everything jam, jelly, and fruit preserves!
- Choosing Fruits to Preserve
- Jellies vs. Jams vs. Preserves
- Gelling and Pectin
- Storing Your Fruit Preserves
- Recipes
Choosing Fruits to Preserve
In our modern age of food access, you can technically preserve just about any fruit at any time of the year. However, just like with cooking and baking, you’re going to get the best results by following a few guidelines in choosing what fruit to make into tasty jam.
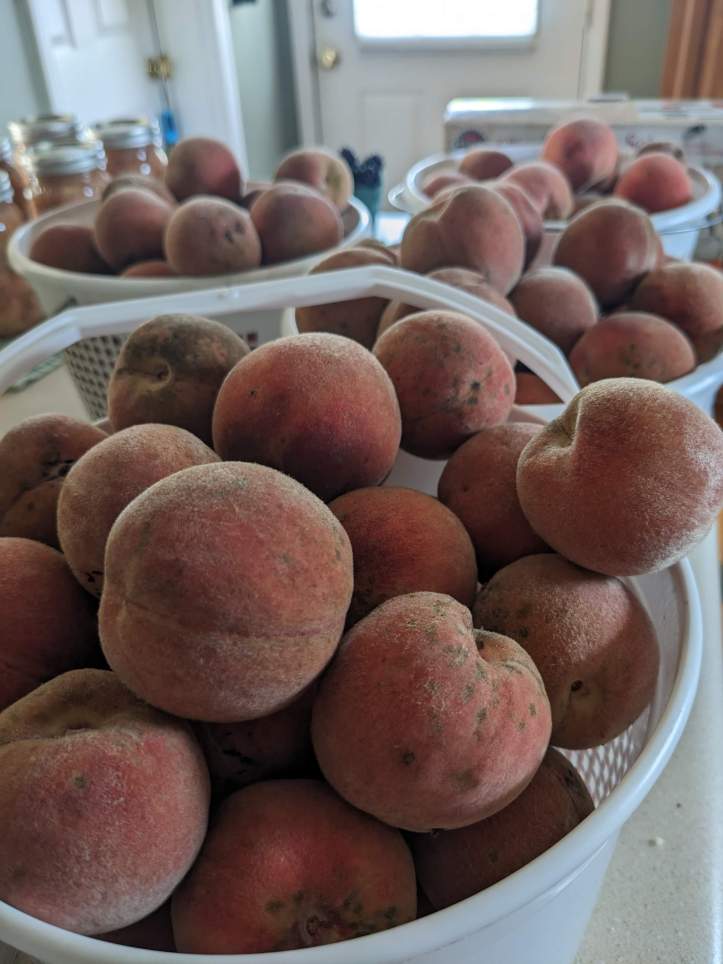
- Choose in-season fruit. This is my number one rule for a reason: no matter where the fruit is coming from, you should use it when it’s in season in the place it’s growing. It’ll taste better, and you’ll be more in-tune with the rhythms of nature (maaaan). But if that doesn’t convince you, in-season fruit also tends to be cheaper, since there will be more of it that needs to be moved in a short period of time.
- Choose local fruit, if possible. The closer the fruit grows to you, the fresher it will be. Better yet, you can get to know the grower and what their practices are (e.g. spray vs. no spray, organic practices, etc.) and support your local community. And if you grow it yourself, it’s free free free!*
- Choose fruit without visible signs of damage, mold, or other rot. You want the freshest fruit possible for the tastiest and, more importantly, safest product that will last the longest in storage. Misshapen or “ugly” fruit is fine (and often best for preserving, as it’s all going to get crushed anyway) as long as it’s not damaged or going bad. Save the blemished apples for immediate cooking and eating.
- Choose fruit you’ll actually eat. This seems like a silly one to include here, but seriously – only preserve what you plan to eat. You’ll thank me before you accept the bushels of surplus apples you make into fifty pints of apple butter, when you don’t even like apples.
Jellies vs. Jams vs. Preserves
All of these are great ways to preserve fruit, and the key difference between each is what part and how much of the original fruit is left in the final product.
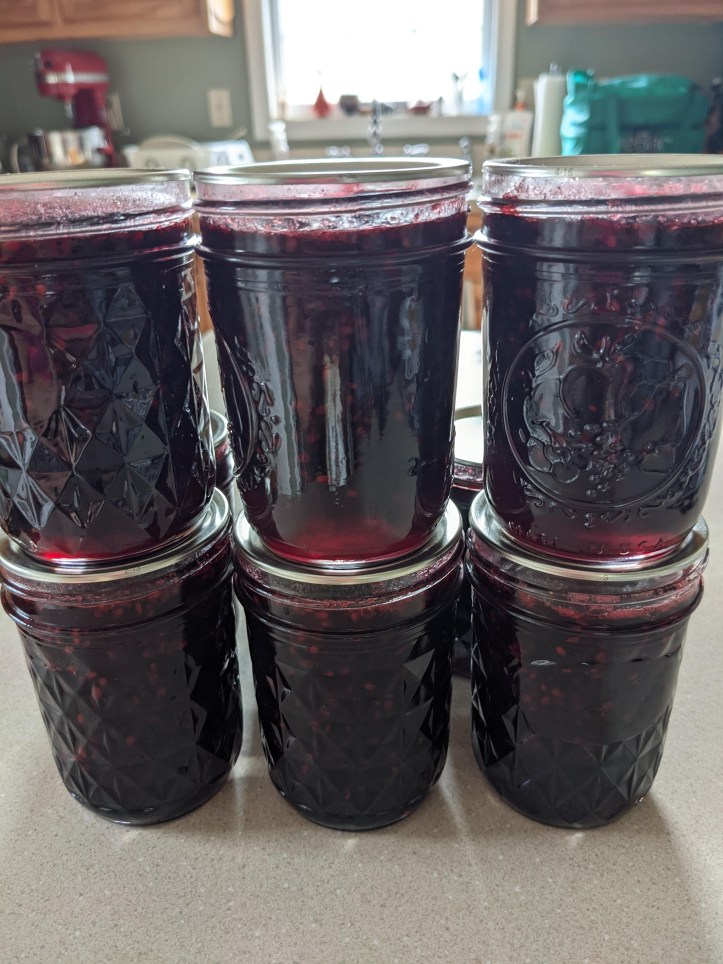
Jellies are made with just the juice of the fruit.
Jams are made with crushed whole fruit (with or without seeds intact). Fruit butters fall into this category, and are usually less sweet.
Preserves are made with chopped, sometimes crushed, usually whole fruit. Preserves tend to have the largest pieces of fruit left in the final product. Marmalades are preserves made with citrus fruits, peels and all.
All three are mixed with sugar, an acid (like lemon juice) if necessary, and sometimes commercial pectin. Old-fashioned jams and preserves (especially marmalades and fruit butters) use only the pectin from the fruit (and sometimes lemon juice), but are cooked for much longer. For a less cooked taste, you can use commercial pectin to firm up the final product (more on that in a moment).
The fruit you choose to preserve often determines what you’ll make with it, and not every fruit is a good candidate for every kind of preserve. Soft fruits, like berries and stone fruits, can generally be made into preserves, jam, or jelly, while harder fruits (like apples and pears) make better preserves and butters.
Some fruits do best with as little cooking as possible, like passionfruit or maypops. Or, you might want to preserve the flavor of fresh citrus juice. These fruits are best reserved for curds or non-cooked applications (like fermentation).
Gelling and Pectin
Jellies are jellies because they, well, gel. This means that either enough of the water evaporates out of the fruit mixture, or the mixture is coagulated enough with the help of extra pectin, to get to a spreadable consistency, rather than a liquid or syrup.
Most modern jam and jelly recipes use commercial pectin to set the final product into something that you can spread with a butterknife without having to stand by a stove for hours at a time, waiting for the water to evaporate. There are two kinds of pectin available, and they are generally not interchangeable:
Powdered Pectin: Comes in jars or packets, and is, well, powdered. You add this in recipes by whisking it with your fruit, heating it, and then adding the sugar once it heats to temperature. There are varieties that are made for low-sugar or no-sugar-added jams and jellies, which, if used in a regular sugared jam recipe, will make a very thick product. Read your labels carefully.
Gel Pectin: Comes in disposable foil packets, and is a gel. You add this after heating the fruit and sugar.
When I say they’re not interchangeable, I mean that when a recipe calls for one, use the one that’s called for in the way it’s called for. However. I do not use gel pectin, as it comes in single-use packages, which I don’t like. So, I will modify a recipe that uses gel pectin for powdered – I simply change the order of when and where the pectin is added.
Generally, you can use 2 tablespoons (~20 grams) of regular powdered pectin for every packet of liquid pectin. You must add powdered pectin before heating and before adding the sugar, or else your product won’t set. Don’t be past me and make what you thought would be wine jelly, and ended up with blackberry wine syrup – use your pectin properly.
Gelling Stages (and how to check for them)
If I want a jam that tastes less cooked, or more like fresh fruit, I’ll use commercial pectin. This is also why I like trusted recipes – they give the correct amount of pectin needed to achieve the right spreadable (not gummy, not watery) consistency without my having to worry.
However, if I’m making marmalade, apple butter, or other fruit butters, I don’t use commercial pectin. Why? These preserves require long cooking anyway, either to soften tough citrus rinds for marmalade, or get that caramelized fruit flavor for butter, and there is a good amount of natural pectin in apples and the like.
So, if you don’t use commercial pectin to set fruit (which usually takes about 1 minute of boiling to set a batch of jam), you have to use a few different methods to make sure your jam, marmalade, or butter has gelled properly.
Method 1: The Cold Plate Test
I use this with any batch, whether or not I use commercial pectin, to make sure my product will set at room temperature.
The test is simple: place a small ceramic (not plastic) plate in the freezer for at least 10 minutes before you want to test. Spoon a small amount (about a teaspoon) of your jam onto the cold plate. Be sure that your sample comes from the middle of the pot, so you’re testing the coolest part (and not something on the edge, which might be heated more).
Wait about 30 seconds and push your finger against the jam (or right through it, like I do). If your finger leaves a line through the jam and it doesn’t come back together quickly (but is still soft), your jam is ready to be canned or refrigerated. If your jam slides easily back together or liquifies, keep heating it. You can wash your plate and keep retrying every 5 minutes or so of heating.
I’ve also seen the drip test (where you see how fast your jam “drips” when held sideways), as well as the wrinkle test (push your finger gently onto the jam, and if it wrinkles, it’s done). I’m a very tactile person, so physically pushing the jam (as well as tasting it) works better for me than these two methods.
Method 2: Temperature Check
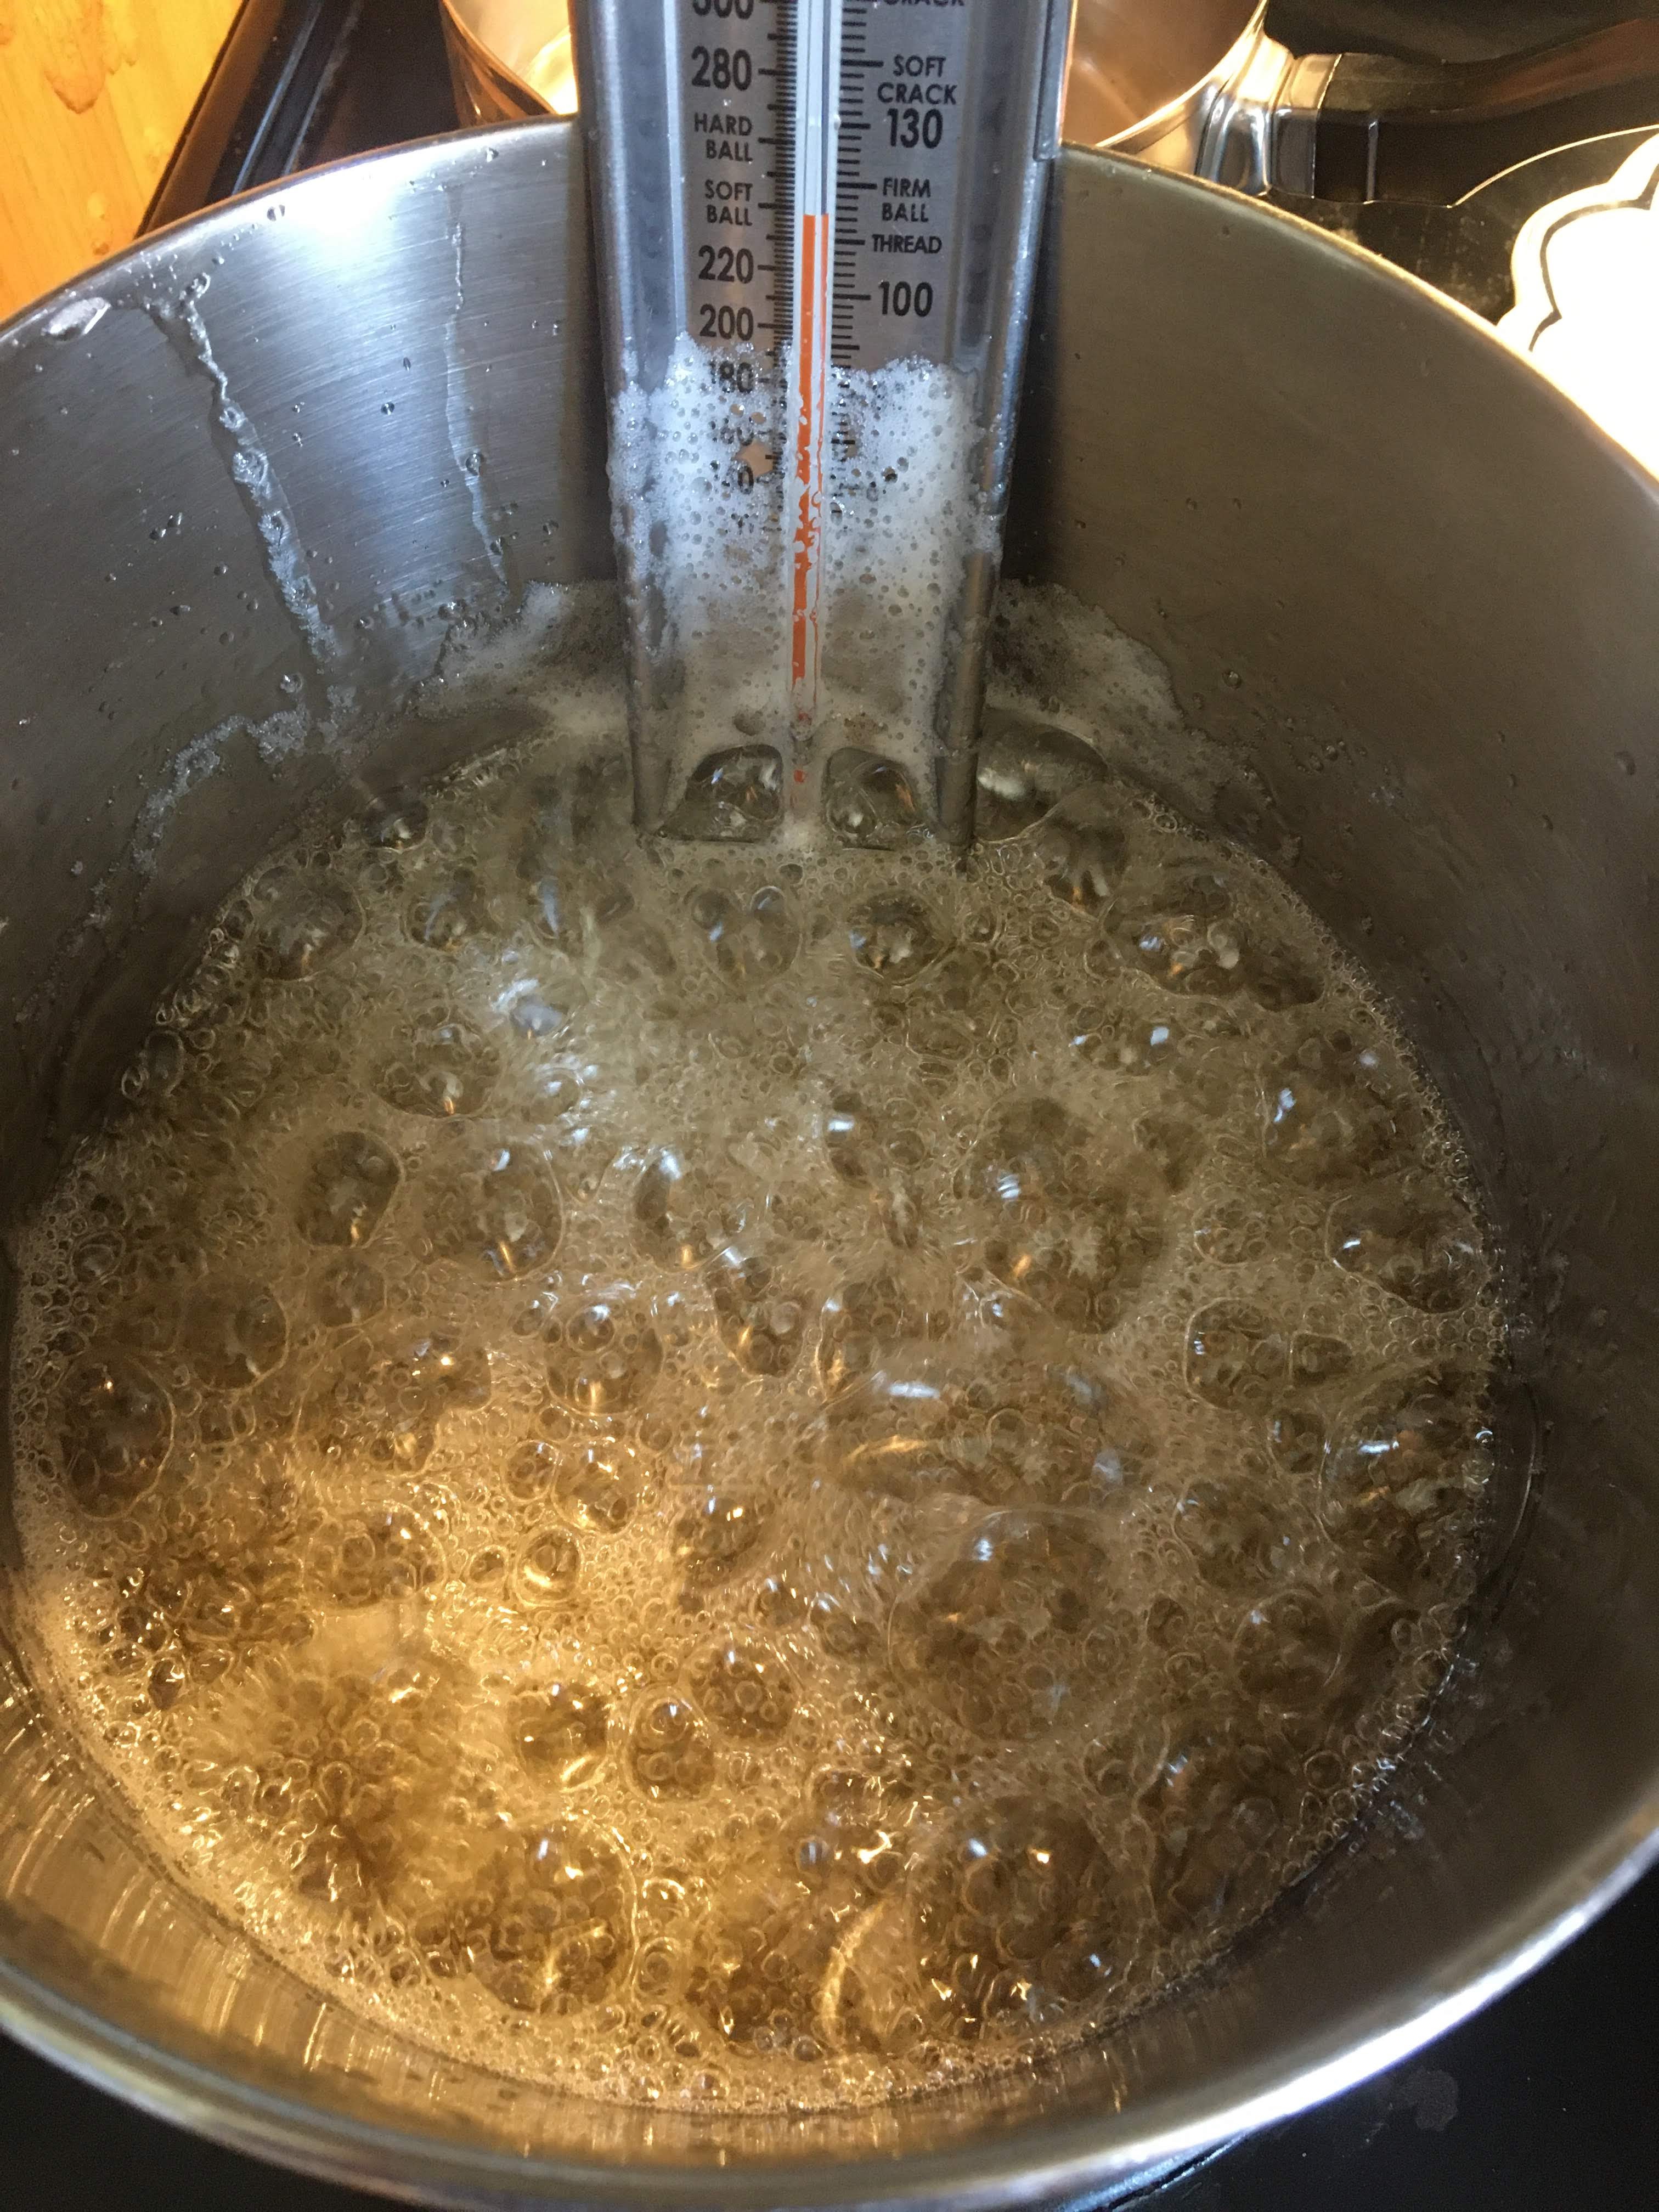
Hooray for thermometers! Like for candy, you can use a candy thermometer to gauge whether your jam is ready. I still advise doing the plate test in conjunction with a thermometer, especially if you’re particularly picky about texture (I know I am), but thermometers are great for really long stints on the stove, like for marmalade.
Jams, jellies, and marmalades set between temperatures of 218-222 degrees F. I usually like a softer jam or marmalade, so I don’t let it get past 219 degrees. Any less than 218, and you’ll have a runny jam. Any more than 222, and you risk burning your product or making a gummy jam that’s hard to spread.
Storing Your Fruit Preserves
You’ve made fruit preserves – yay! Depending on your recipe, and how much you’ve made, you have a few options as to where to keep your bounty.
- Refrigerate. The easiest, and best for smaller amounts of fruit preserves. Keep preserves in airtight (preferably glass) jars and use within a few weeks for best quality and freshness.
- Freeze. There are specific recipes for freezer jams, as well as special containers and seals that keep the jams from exploding, as well as preserve freshness. Best for slightly longer storage of more preserves, if you have the space and power.
- Canning. Best for making quantities without taking up valuable fridge/freezer space, and using less energy. Canned preserves last the longest out of the three (months, even years, rather than weeks). Be sure that your recipe is designed for canning, as not all recipes have enough acidity/sugar to be safely stored at room temperature.
I’ll have another post next week all about canning, so until then, you can refer to my Pickled Okra post for water-bath canning basics.
Recipes
Itching to get started? Awesome! Here are some fruit preserve recipes I’ve posted in the past, all of which indicate whether they are appropriate for water-bath canning, and how to do so:
- Apple Butter
- Apple Pie Jam
- Berry Refrigerator Jam
- Blackberry Wine Jelly
- Blood Orange Marmalade
- Dandelion Jelly
- Hot Pepper Jelly
- Marmalade
- Maypop Jelly
- Peach Butter
- Peach Jam
- Peach Bourbon Jam
- Strawberry Jam
- Strawberry Rhubarb Jam
*Just kidding – growing your own fruit is never free, but it is fulfilling, and you can get a ton of it!

[…] It’s time for Canning and Preserving 101! I talk about this in my Pickled Okra post, but I’ve decided to make a more comprehensive page for different types of preserves and preserving, specifically the kind where you seal your preserved goodness for winters to come. And, if you wanted to check out how to make jams and jellies, check out last week’s post, Preserving Fruit: All About Jams, Jellies, and Preserves. […]
LikeLike